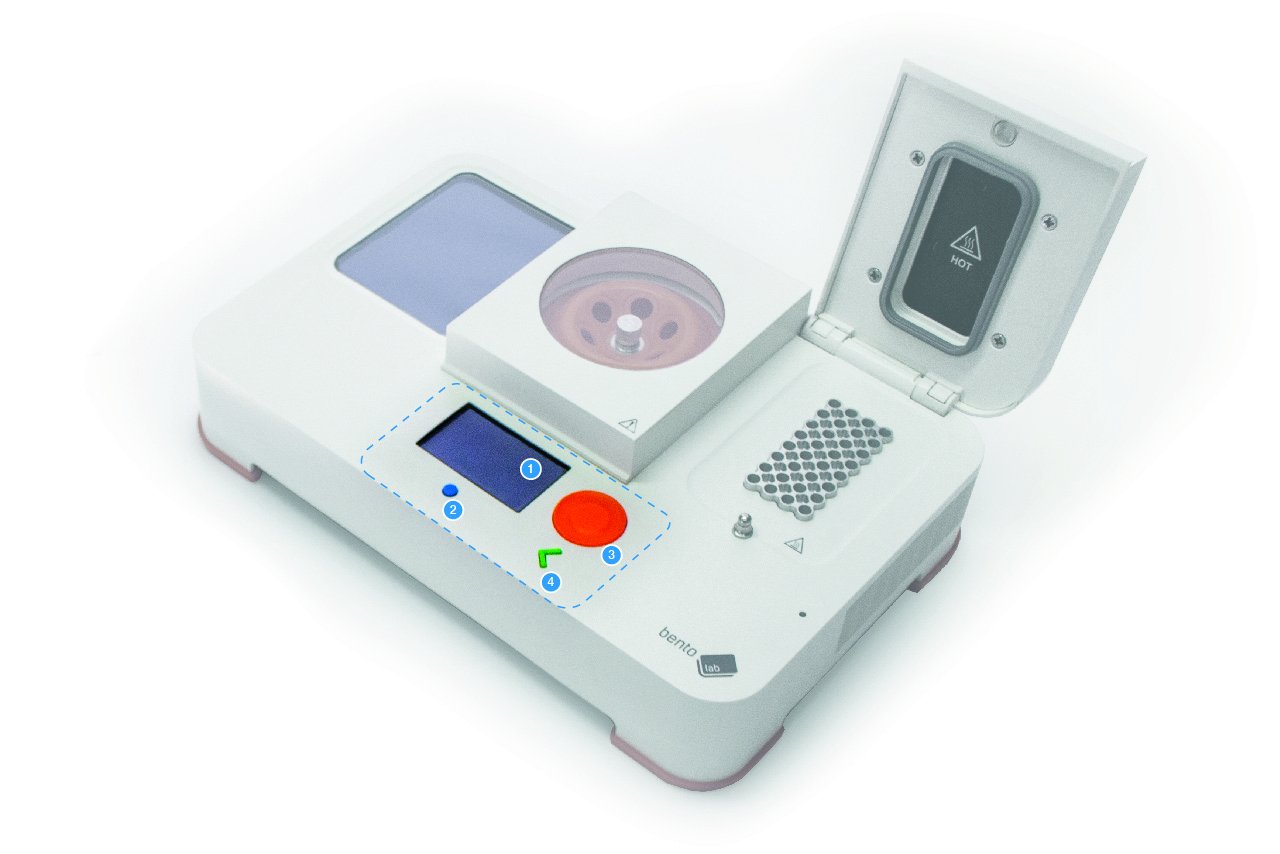
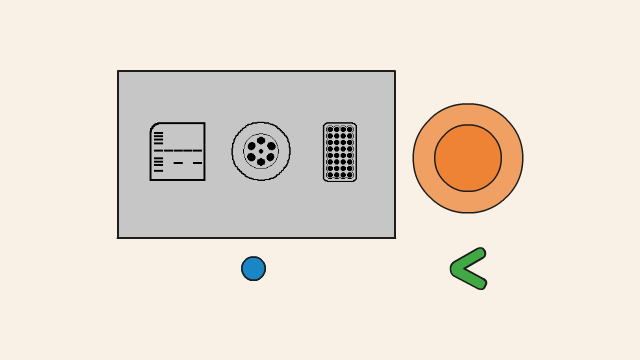
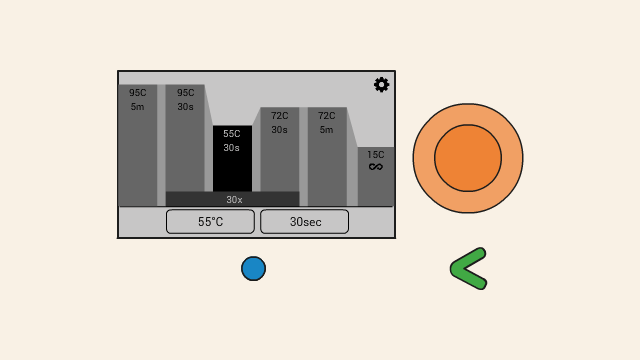
Bento Lab has an e-ink LCD Display 1, and three buttons. The small blue button under the screen 2 is the home button and always takes the user back to the home screen. The large round orange button 3 is the click-dial, which is used to select elements on the screen. The green back button 4 is shaped like a left-facing arrow. It is used to go back one step in the interface.
Home screen
When Bento Lab is switched on, the home screen is shown by default. From here, the individual modules can be selected 1. The current status is shown in the status area 2.
In the example below, the flag under the PCR icon indicates that the PCR programme has finished. If a process is currently running (such as a Gel Electrophoresis or Centrifuge timer, or a PCR run), a countdown clock will be visible.
Additionally, connection status to the Bento Bio app is shown at the top left corner 3.
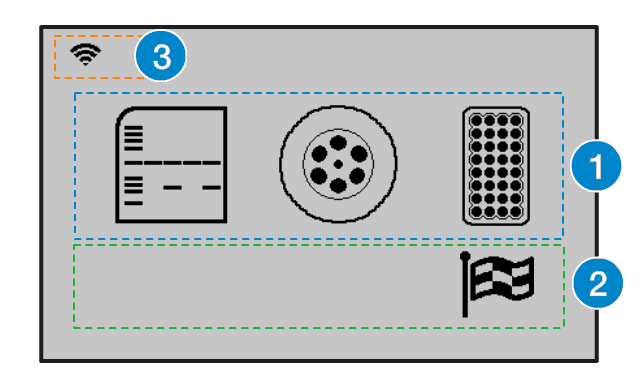
An individual module can be selected using the orange click-dial. The modules on the home screen are, from left to right, Gel Electrophoresis and Transilluminator, Centrifuge, Thermocycler. Simply rotate the click-dial to highlight the desired module, then push the button to enter the interface for that module.
Changing Values
Some buttons contain values that can be manipulated, e.g., time and temperature values.
To change a value on a button, first highlight the button by navigating to it using the orange click-dial. Then, push and hold down the click-dial whilst turning it. This will adjust the value up (turning clockwise) or down (turning anti-clockwise). When releasing the click-dial, the new value will be set. Tip: Some users find it easier to use two fingers (e.g., your index and middle fingers) for more stable and controlled movement when adjusting a value.
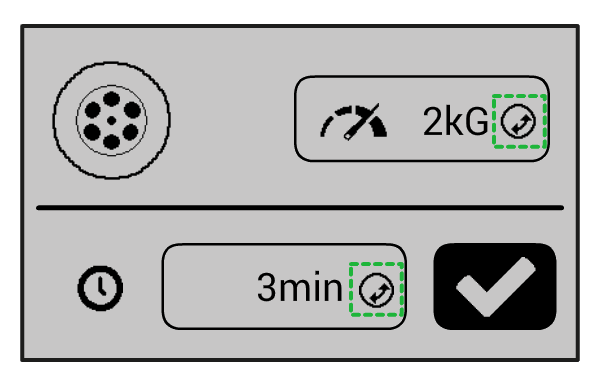
The value shown on the button can be manipulated in this way and is marked by this icon
![]() .
.
Connecting to the Bento Bio app
All of Bento Lab’s modules can be controlled directly with the physical interface on the device.
In addition, Bento Lab models with bluetooth connectivity can be connected to our app. It is available for Android and apple devices. Find out more here.