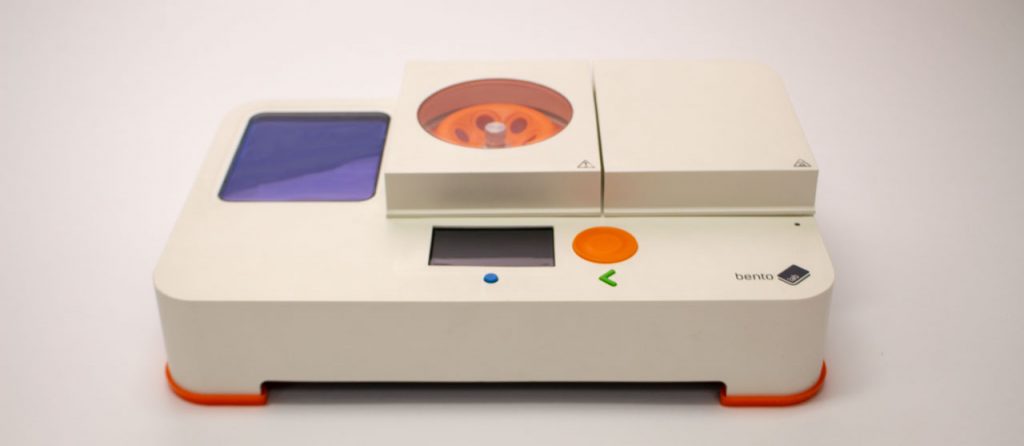
This guide is the third chapter in the Biotechnology 101 Kit. The centrifuge is a key component of Bento Lab. It allows you to use centrifugal force to separate samples based on density, by spinning the samples at extremely high speed. The Bento Lab centrifuge can spin up to 14,500 rotations per minute – 240 per second! A centrifuge is no toy, and if handled incorrectly, it can be dangerous. In this introduction tutorial, you will learn how to operate the centrifuge safely so you can use the centrifuge in your experiments with confidence.
Guide
Turn on Bento Lab
This chapter is the first time you will use Bento Lab. If you have not already, set Bento Lab up now. The first time you start Bento Lab, you can choose to display a tutorial showing you how to operate Bento Lab. Refer to the User Manual, if anything is unclear.
To operate the centrifuge, select the middle centrifuge icon from the home menu.
Opening and closing the lid
The centrifuge will only spin if the lid is closed and locked, to prevent any accidents. Notice that as you open the lid, the centrifuge buttons become disabled.
Burst spinning the centrifuge
Often you may want to use the centrifuge to bring down all the liquid to the bottom of the tube. To do this, you usually only need to spin the centrifuge for a few seconds. For this, the Bento Lab centrifuge module offers a quick spin mode.
Make sure the centrifuge lid is closed, and no tubes are in the rotor. Then, select the quick spin button (1) and hold down the orange button. You will hear the lid click as it locks, and the motor starting to spin. A timer on the interface (2) will also count up the number of seconds. Keep the centrifuge spinning for 5 – 10 seconds, then release the orange button. The motor will slow down, and a lock icon will flash on the screen to indicate that the centrifuge is still spinning. Once the motor has stopped spinning, you will hear another click as the lid unlocks. The lock icon will now stop flashing on the screen, and you can open the lid.
Never try to open the centrifuge lid when the centrifuge is spinning or the lock icon is flashing. If you try to force open the lid, you might damage it.
Balancing the rotor
Whenever you load the centrifuge, you need to be careful to keep the rotor balanced. Every tube must be balanced by a tube of approximately equal weight on the opposite side of the rotor.
At the maximum speed setting, the centrifuge creates a force of 8,000 G at the bottom of the tube. This is equivalent to your sample being 8000 times as heavy than the normal weight. So at this speed, even small weight differences are enormously magnified.
Using an unbalanced centrifuge is dangerous and may break the device.
If you run an unbalanced centrifuge, it might start shaking and making unusual noises. Immediately turn off the Bento Lab and wait for the rotor to slow down.
So, if you load the centrifuge with two tubes, they must be opposite each other and similarly filled.
Experiment: Separating Sauces
Get 6 empty centrifuge tubes from the bag of 1.5 mL microcentrifuge tubes.
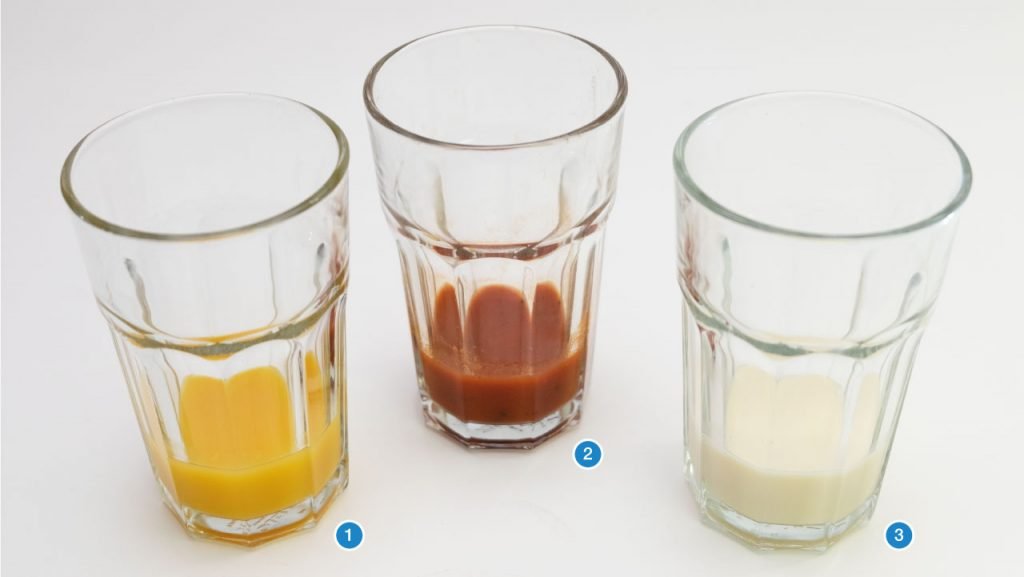
To test the centrifuge, look for interesting samples around you, that could separate into a liquid and non-liquid part. For example, samples such as orange juice (1), ketchup or tomato soup (2), or almond milk (3) might yield interesting results.
Fill up two centrifuge tubes with an equal amount of the sample.
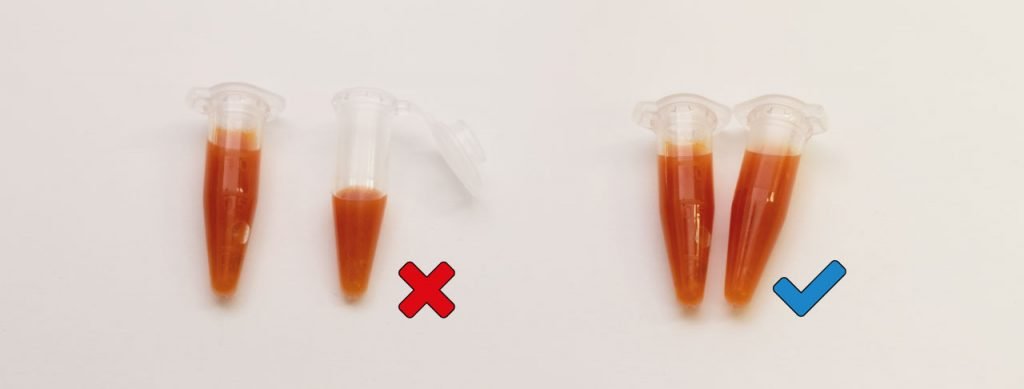
Your centrifuge tubes should match each other’s weight as closely as possible. So fill opposing tubes with the same amount of sample. If the tubes are unbalanced, such as the example on the right in the picture above, you might damage the centrifuge.
Load your sample tubes into the centrifuge rotor in a balanced position, then set the centrifuge to run for 60 seconds at 2kG. If you want to run the centrifuge for a longer amount of time, you can use the timer button in the centrifuge menu.
Run the sample for a minute at 2kG, then check the results. Do the samples look separated? If you have particularly difficult to separate samples, you might want to increase the force to 4kG or 6kG.
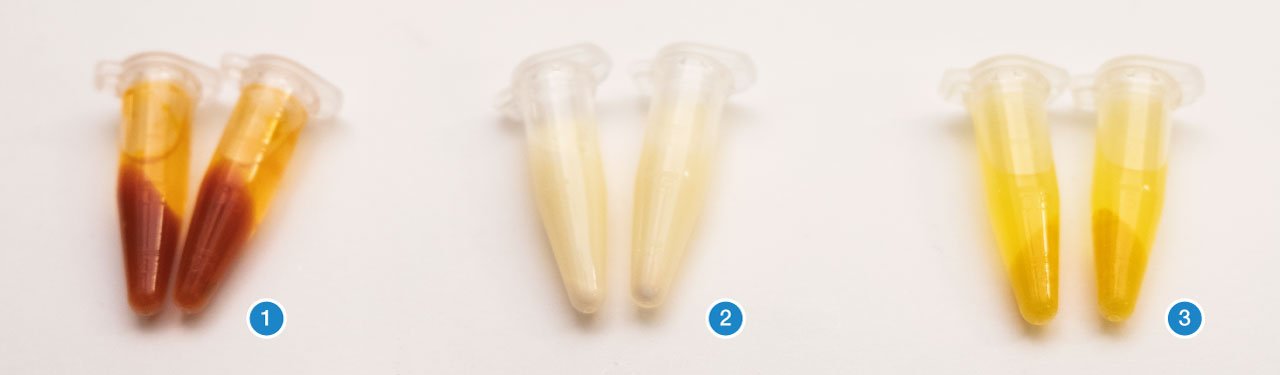
In the end, your samples should separate into a liquid part and a concentrated solid part. As you can see from the picture, the results vary widely from sample to sample. The tomato soup has a very clear separation into a large concentrated solid part, and an almost clear liquid phase (1).The almond milk requires a lot more force to separate. A matchstick-sized solid part has been concentrated after 5 min at high force, but the liquid phase is still cloudy (2). The orange juice sample (3) is also easily separated into a clear liquid phase, but the solid concentrate is smaller than the tomato soup.
Experiment with at least three different types of samples using the tubes provided and note the difference in the result, to get a feel for using the centrifuge. It will be an important tool in experiments, which you will use to concentrate cell samples in DNA extraction protocols.
Always remember to check that your tubes are balanced, before turning on the centrifuge rotor.
Converter Tubes
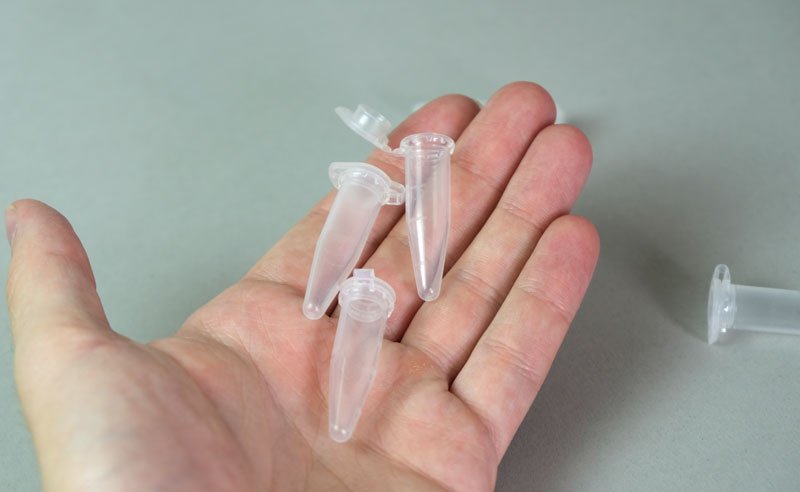
In the Launch Kits bag, you will find a small bag labelled Centrifuge. It contains special converter tubes.
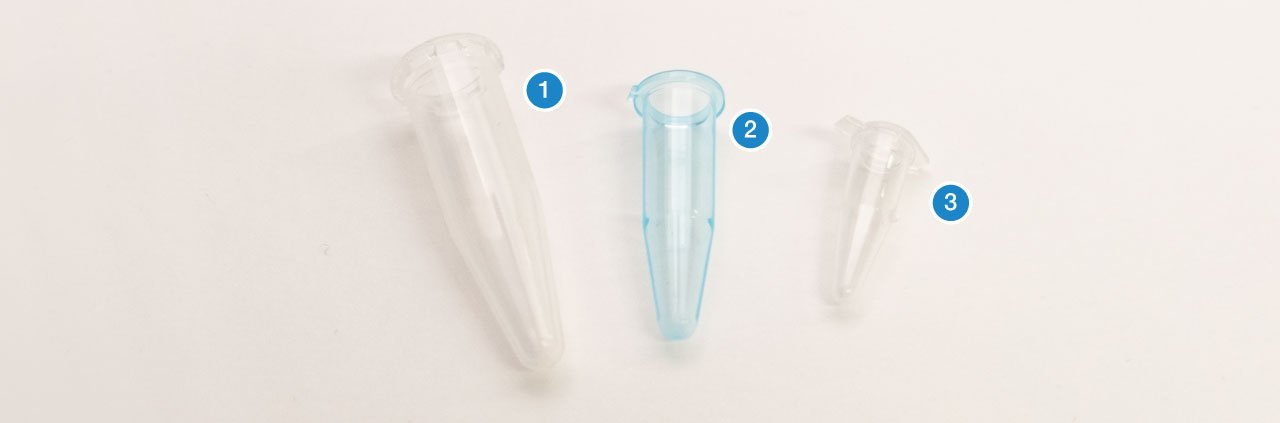
There are three parts to them: The larger clear tube, that looks like a centrifuge tube without a lid (1), the blue coloured insert (2), which fits into the centrifuge tube, and lastly a 0.2 mL PCR tube (3), which fits into the blue insert.
Usually the centrifuge will be used with the larger 1.5 mL tubes. But sometimes you will need to spin samples in PCR tubes directly, for example during some DNA extraction protocols. In those scenarios, you will need to use this converter setup.