Gel Electrophoresis

Equipment needed

Reagents and Consumables

  • Pipette Tips (4)
  • Gel Electrophoresis Tutorial Bag
  • Electrophoresis Materials Bag
  • Distilled or deionized water (1L) Not included. You can find this on eBay or Amazon.
  • Empty 1L plastic or glass bottle. Not included.

Abstract

This guide is the final chapter in the Biotechnology 101 Kit, that teaches you the basics of hands-on molecular biology. Gel Electrophoresis is the method used in this kit to analyse DNA samples. It is also the method that requires the most of your pipetting and practical lab skills.

Protocol

  1. Mixing the gel

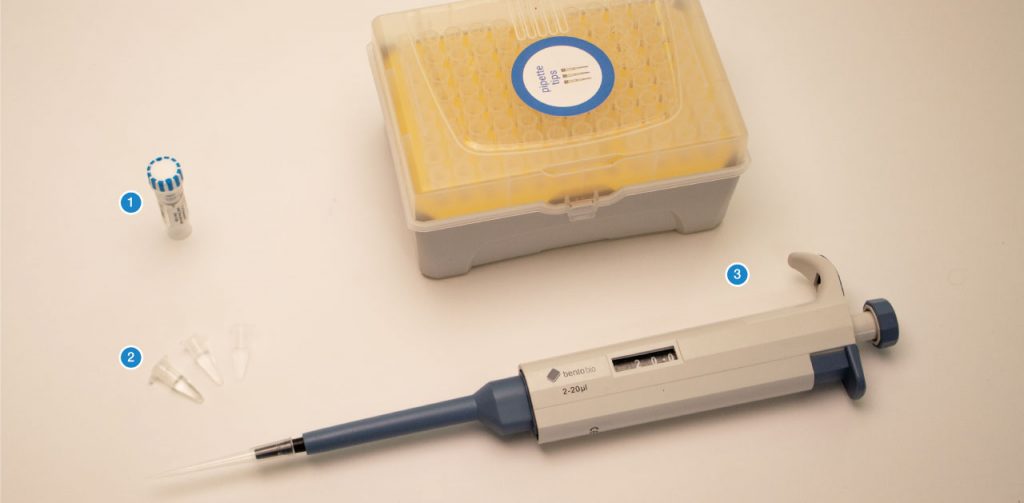
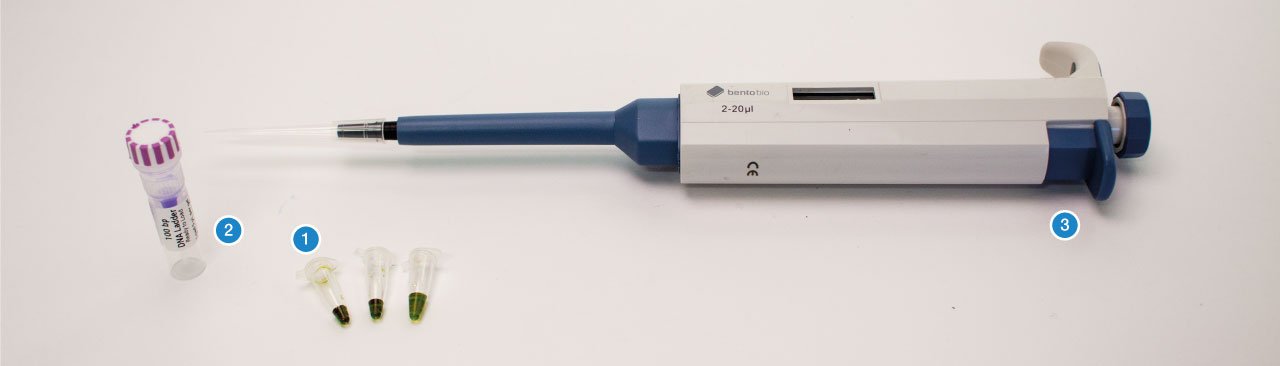
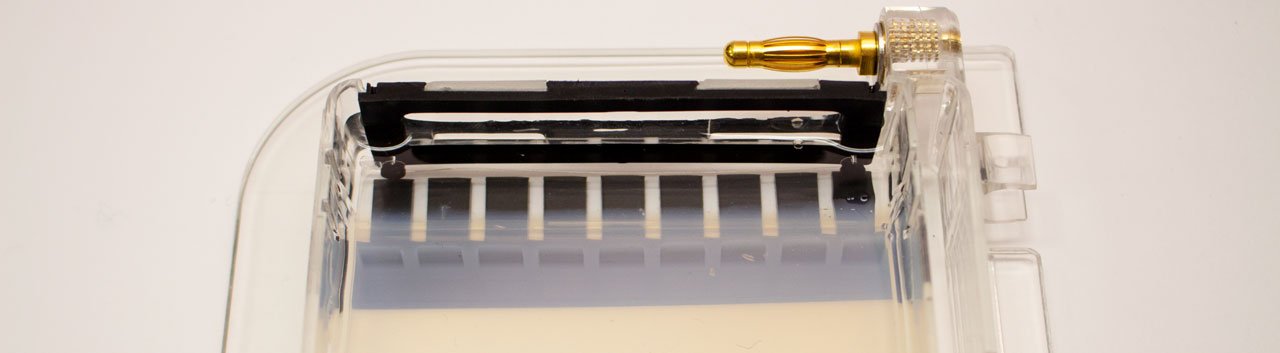
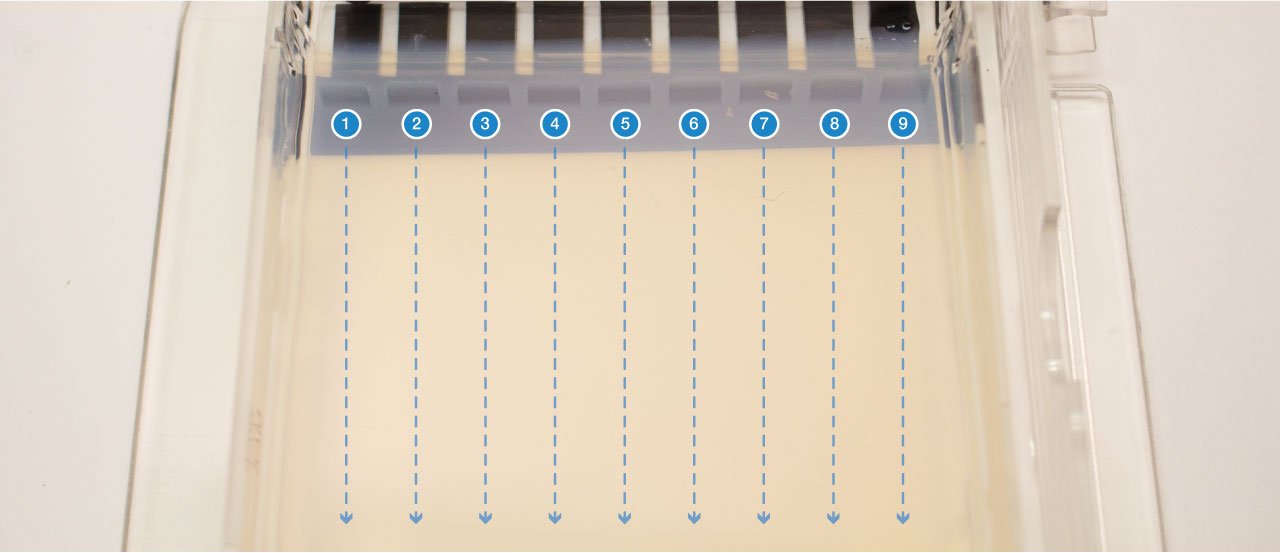
    In this protocol, you will cast a 1% agarose gel, load the gel with DNA samples and ladder, and separate them using gel electrophoresis. You will need to have your DNA samples prepared and ready to load into the gel.

    1% refers to the percentage of agarose in the volume of liquid. The gel percentage is calculated as (grams of agarose / milliliters of buffer) x 100%. In this gel, we are mixing 0.5g with 50mL, so the calculation is 0.5g / 50 mL x 100%, which gives us a 1% gel.

    The standard percentage of agarose for a gel is usually about 1-2%. The percentage of agarose that is appropriate depends on the size of DNA fragments you are expecting to separate. The percentage of agarose determines how well the DNA separates, and the resolution of the final gel.

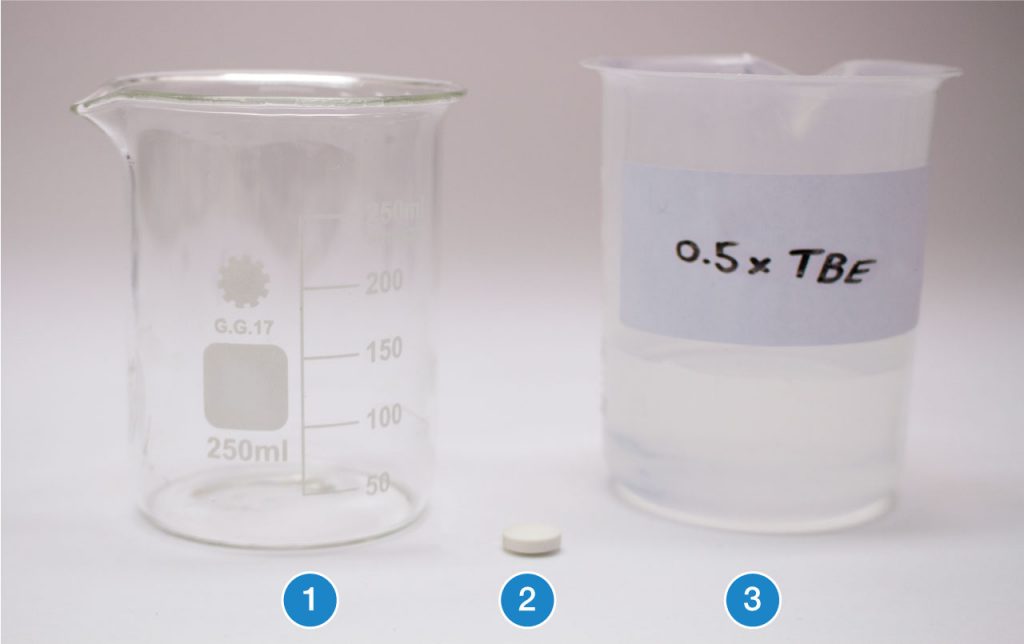
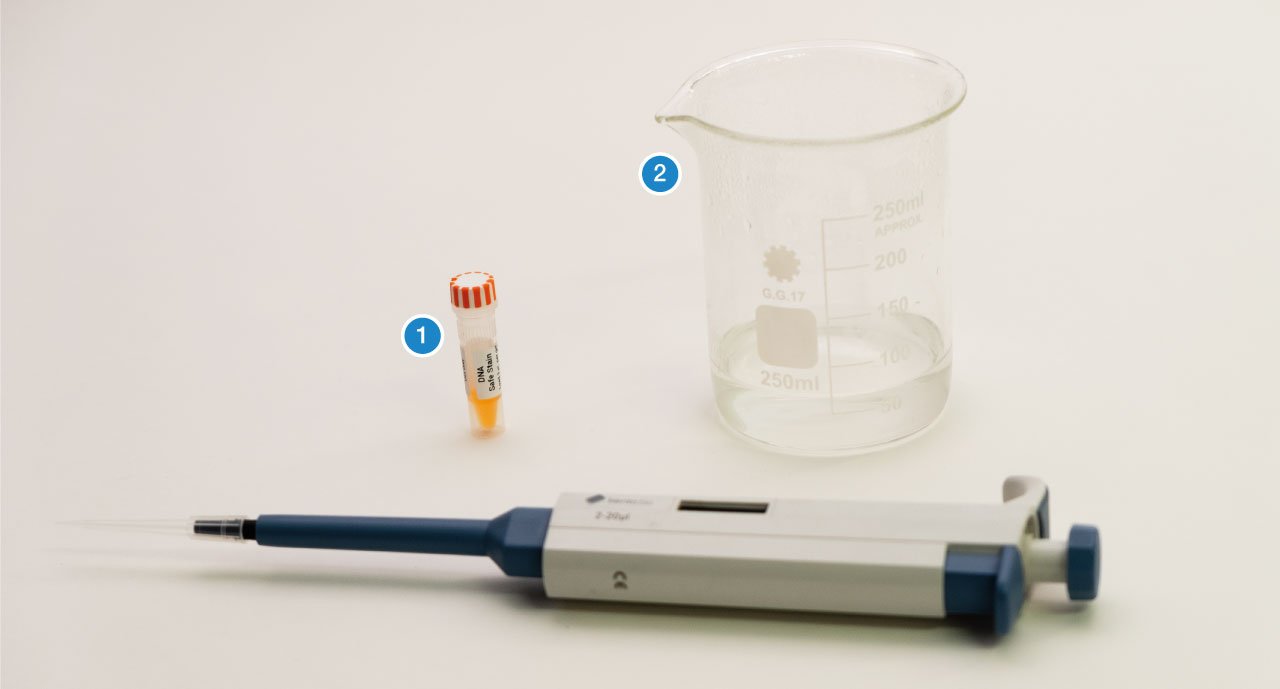
    To make a 1% gel, you will dissolve one agarose tablet (2) in the 0.5x TBE Buffer (3), which you diluted in the guide to getting started with electrophoresis. You can use the glass beaker (1) that comes with the Biotechnology 101 Kit.

    Drop the agarose tablet into the beaker, then fill the beaker with 0.5x TBE Buffer to the 50 mL mark. Wait for the agarose to dissolve. This might take a few minutes. Swirl the partially dissolved tablet in the buffer occasionally.

  2. Preparing the gel box for casting

    In this step you will set up the gel box for casting the gel.

    First, slide open the gel box.
    Ensure the black buffer dams are installed correctly, then install one of the combs. In general, all experiments in the Biotechnology Starter Kit use the 9-well-comb.

  3. Heating the gel solution in the microwave

    Make sure the agarose tablets have fully dissolved in the buffer.  It can take a few minutes.

    Once the tablets have dissolved, heat the solution in a microwave at full power for short bursts of 20-30 seconds.

    Avoid heating the gel solution for too long, or the water in your buffer will start to evaporate. We recommended you heat in short bursts, stop when you see bubbles appearing and swirl the solution. If you overboil the solution, you will end up with a higher percentage agarose gel with a high ionic concentration.

    After each burst of microwaving, take out the beaker and swirl the solution. Once bubbles start appearing, the agarose should have dissolved. If you still see visibly solid pieces or strings of agarose, continue until they are dissolved.

    Be careful when handling the beaker, as it might get very hot. Touch it indirectly using a cloth or gloves.

  4. Adding the DNA Safe Stain

    Make sure to wear gloves from this point on.
    Make sure not to expose your skin to DNA Stain, or surfaces that have been exposed to DNA Stain.

    In this step, you will add the DNA Safe Stain (1) to the melted agarose (2), to ensure that DNA fragments in the gel will fluoresce.

    Set the micropipette to 3μl.

    Use a fresh tip, so that you do not contaminate the stain.

    Transfer 3μl out of the DNA Safe Stain tube and add it to the melted agarose in the beaker. Mix well by swirling the beaker until the stain is evenly dispersed in the mixture.

    Add 3μl of DNA Safe Stain to the melted agarose, and mix by swirling the beaker.

    Be careful when handling DNA Stain

    If you spill some DNA Stain onto your glove or work surface, make sure to clean it thoroughly.

  5. Pouring the gel

    Once the agarose is fully melted and dissolved, let the solution cool to about 55°C. The beaker should feel hot, but not too hot to touch.

    Avoid pouring agarose above 70°C, as this might lead the gel box and comb warping.

    When the agarose has cooled to the right temperature, pour the solution slowly into the gel box until the 6-7mm mark. Once you have finished pouring, place the comb into the slot.

    It will take about 30 min for the gel to solidify at room temperature. To speed up the process, you can also put the gel tray into the fridge.

    Ensure that the gel box is on a level surface until the gel has solidified. Otherwise the gel thickness will not be consistent.

  6. Removing the comb and buffer dams

    Once the gel has solidified, remove the comb and the buffer dams.

    Be careful not to damage the gel as you remove the comb and shutters. When removing the comb, make sure not to pierce the gel.

  7. Gel Buffer

    In this step, you will finish setting up the gel by adding the buffer.

    Use your prepared 0.5x TBE buffer solution again, and pour it over the gel until the gel is fully covered. The buffer should reach about 2-3mm above the gel.

  8. Loading Dye

    Before loading each sample, you need to add loading dye to each sample. This will add weight to the sample and help it sink into the well. It also, as the name suggests, makes the sample visible, allowing you to visually confirm that it is in the well.

    You will need the loading dye (1), the PCR tube containing your sample(s) (2), and the micropipette (3) and tips.

    Set your micropipette to 5μl

    Transfer 5μl of loading dye from the tube into the PCR tube containing the sample.

    If you drop the loading dye into the tube without your pipette tip touching the tube or the sample, you can use the same tip to add loading dye to the next sample. If your pipette tip touches the tube, discard the tip, and make sure you use a fresh tip for the next sample.

    If you have more than one sample, repeat this.

    Use fresh pipette tips to avoid contamination. If your tip touches a sample, make sure to not put the tip back into the loading dye tube. Otherwise you may contaminate your loading dye with the DNA from the sample.


  9. Loading the gel

    The samples are now prepared, and the gel is ready to load.

    In this step you will load one or several samples you prepared (1), into the gel you prepared earlier. You will also load the appropriate DNA ladder (2) for the experiment. In the Biotechnology 101 Kit, all experiments are designed for a 100bp ladder.
    To load the samples into the wells of the gel, you will need the micropipette and several pipette tips (3).

    If you are working on a bright surface, the wells in the gel can be hard to spot. Place the gel tray on a darker surface to increase the contrast and see the wells more clearly. The comb can also be used for this.

    Begin by loading the DNA Ladder into the first well on the left.

    Usually the wells of the gels are numbered and loaded left to right.

    However, if you only have a few samples to load, you might choose to shift the first well to the right, so that you lanes are more centered. This is only an aesthetic consideration.

    Set your micropipette to 5μl.

    Using a fresh pipette tip, draw up the DNA ladder and load it into the well. After loading the well, discard the pipette tip.

    Now, load the samples you prepared and load them into the next well.

    Using a fresh pipette tip, load 5μl of the sample into an empty well. Discard your pipette tip, then make a note so that you remember which sample is in which well.

    Repeat this for each sample, taking care to use a fresh pipette tip each time.

    At the end of this step, the gel should be loaded with ladder, and all the samples. For each of your samples, you should have a note recording which well it has been loaded into.

  10. Running the gel

    In this step, you will run the gel for 40 minutes to separate the DNA fragments.

    Gently close the gel box by sliding the lid onto the gel tray. Then connect the leads to the Bento Lab’s power supply. Be careful not to spill anything.

    Run the gel for 40min at 50V.

    If you need help operating the Bento Lab gel box, check the user manual.
    On the Gel Electrophoresis module, set the voltage to 50V, then select the timer (2), and set to 40min (3), then, once the gel box is connected, click the confirmation button (4) to start the run.

  11. Discarding the buffer

    Once your run is complete, disconnect the gel box from Bento Lab.

    Open the lid and discard the buffer. You can dispose of it in the sink.

    Your gel is now ready for visualisation via transillumination.

Welcome to our community.

Get our monthly biotech tips in your inbox, and we’ll send you a code for $10 off your next order.